Han Solo Cosplay Tutorial: Han’s Belt and Holster (Part 2.5 of 3)
*NOTE* To skip to other tutorials for this cosplay, check out the links below!
Pants and Shirt
Vest
Belt Buckles, Accessories and Gun
Apologies that this belt tutorial is going to come in two parts, but I just found that there is so much to go over! This tutorial will cover most of the leather parts and what pattern I used for Han Solo’s gun holster and belt.
I honestly had no idea what I was getting myself into when I started making this part of the cosplay. I thought of buying a real gun holster from a surplus store and modifying it, but couldn’t find a great selection that would match the brown leathers. I decided getting materials from a thrift shop was my best bet and ended up buying this brown pleather purse from the thrift store. For the belt portion, I used an old brown leather belt that I happened to have and adjusted it to fit around my hips.
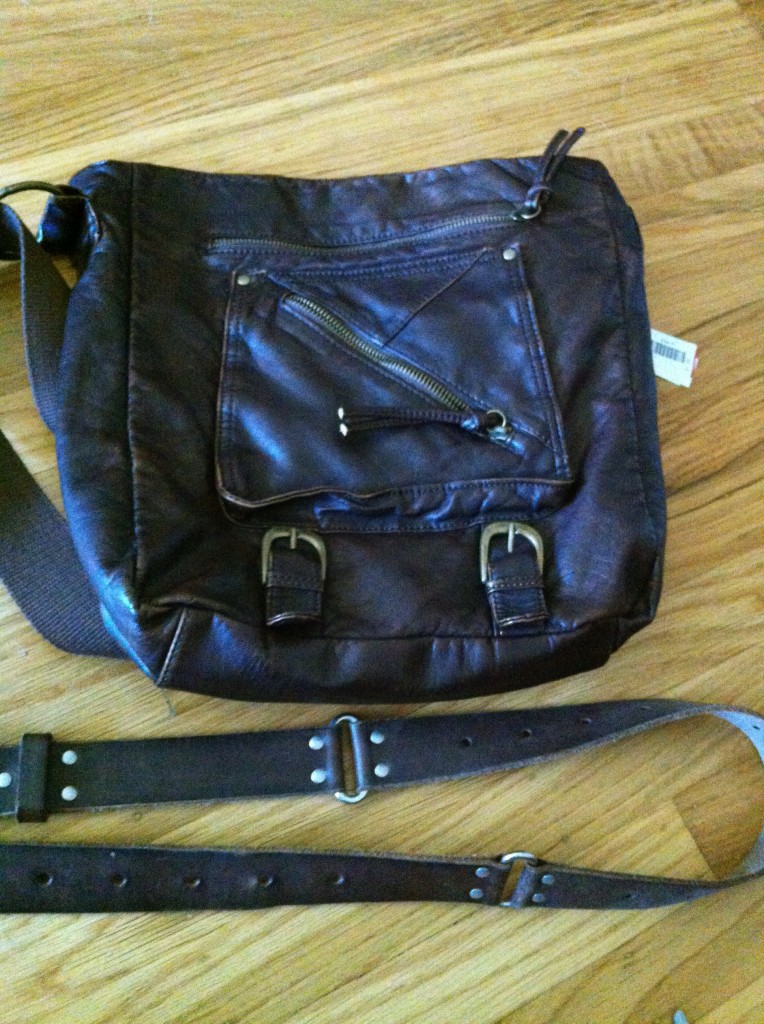
After some massive deconstruction, I had to strategically put together a lot of small pieces for the holster. I used these extremely helpful reference images of a replica of Han’s belt/holster and started cutting some shapes. Han Solo’s holster is basically two parts – the “Y” part that attaches to the brown belt and then the part that holds the gun. I had to make the “Y” section in a few pieces due to limitations in fabric, but if you have enough material, it should be done in one piece. And even though I made the entire holster in pleather here, I ended up finding brown scraps of real leather at the last minute so I used the same pattern to make the entire thing over again. Yes, more bad planning on my part. :P
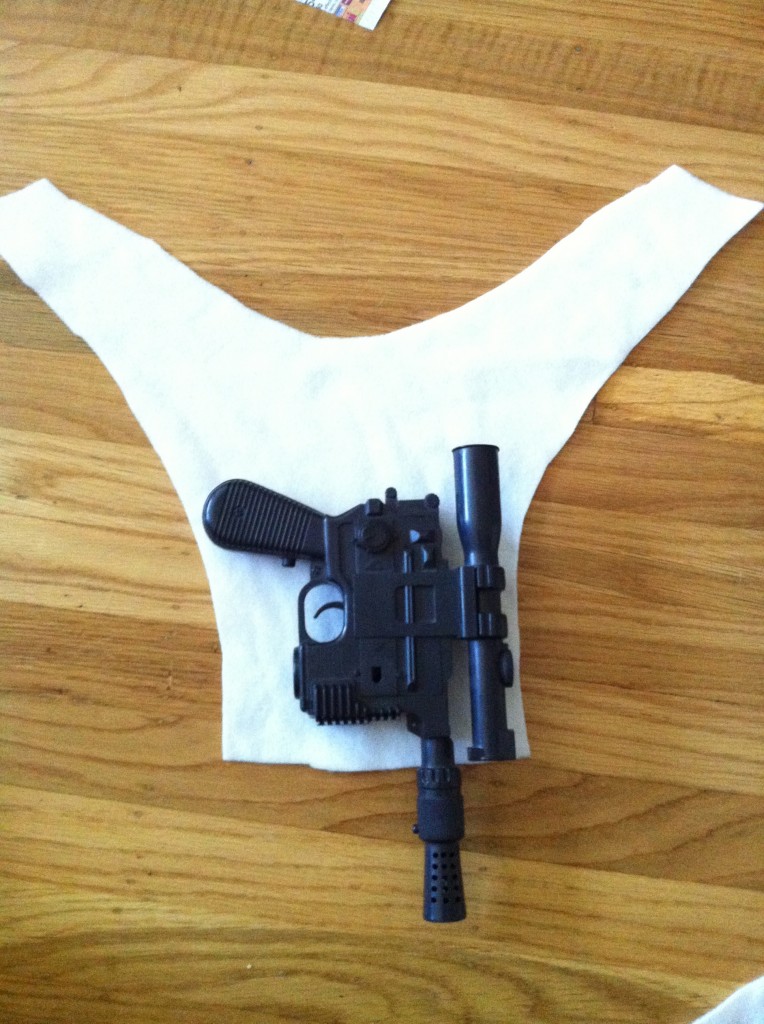
To start, I purchased a 1978 toy version of Han Solo’s blaster on eBay and cut the “Y” shape to fit the width of the gun.
The I wrapped another piece of brown pleather around the blaster to get an idea of the size of the holster.
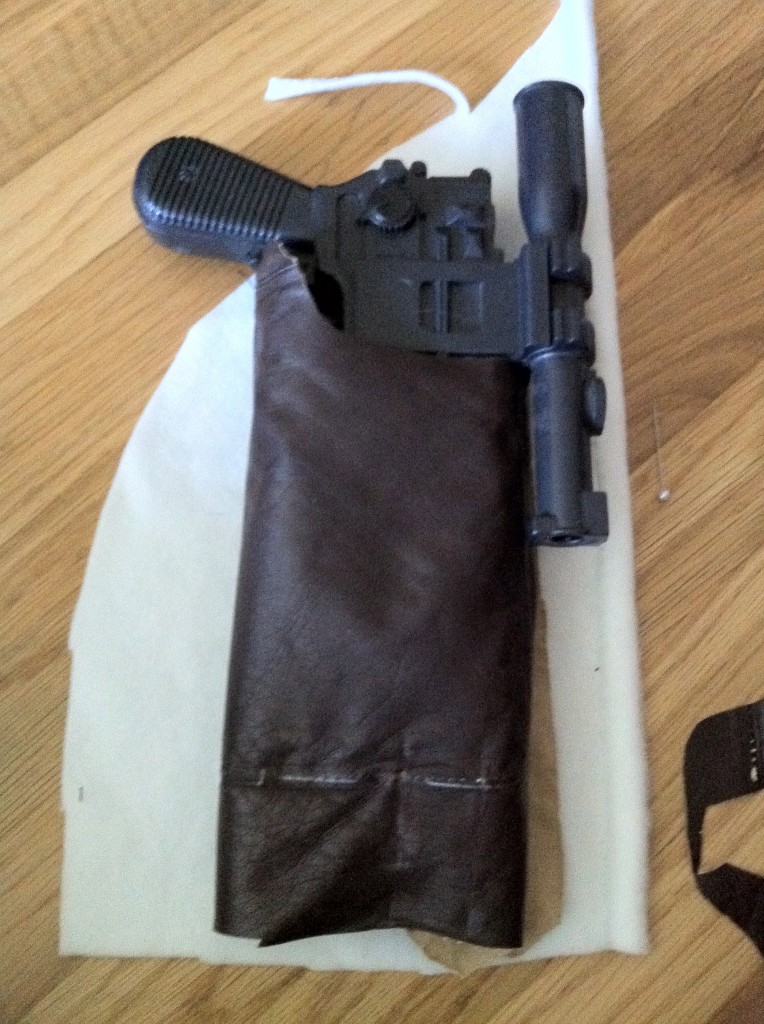
I also cut a curve so that the scope of the gun would fit over the right edge of the holster. Opened up, the shape looks roughly like this (ignore the small gap on the top left side since that ends up being behind the gun anyways).
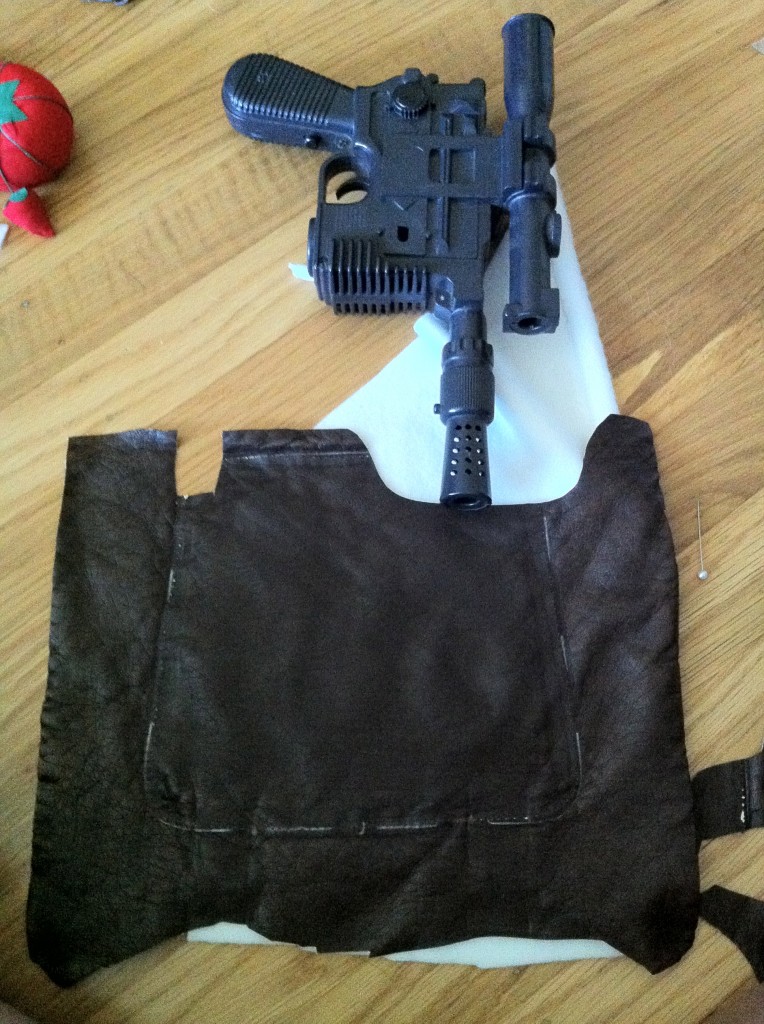
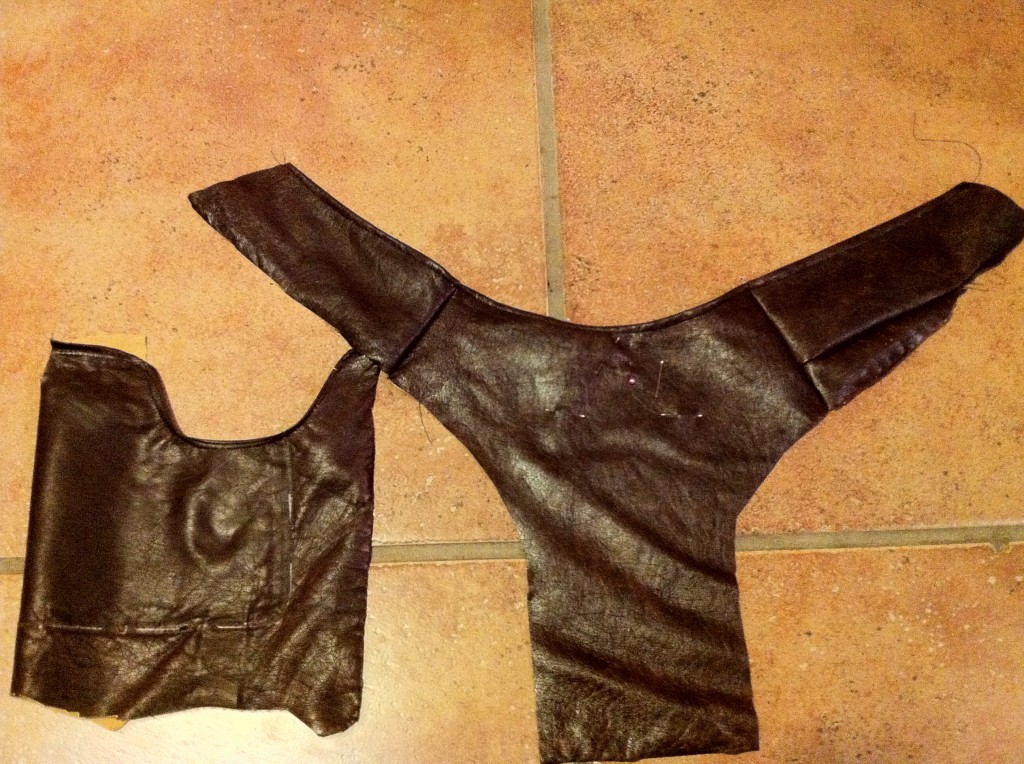
I adjusted the “Y” piece so that everything was the same width and basically ended up with two pieces like this.
Here it is with the gun holster on top of the “Y”.
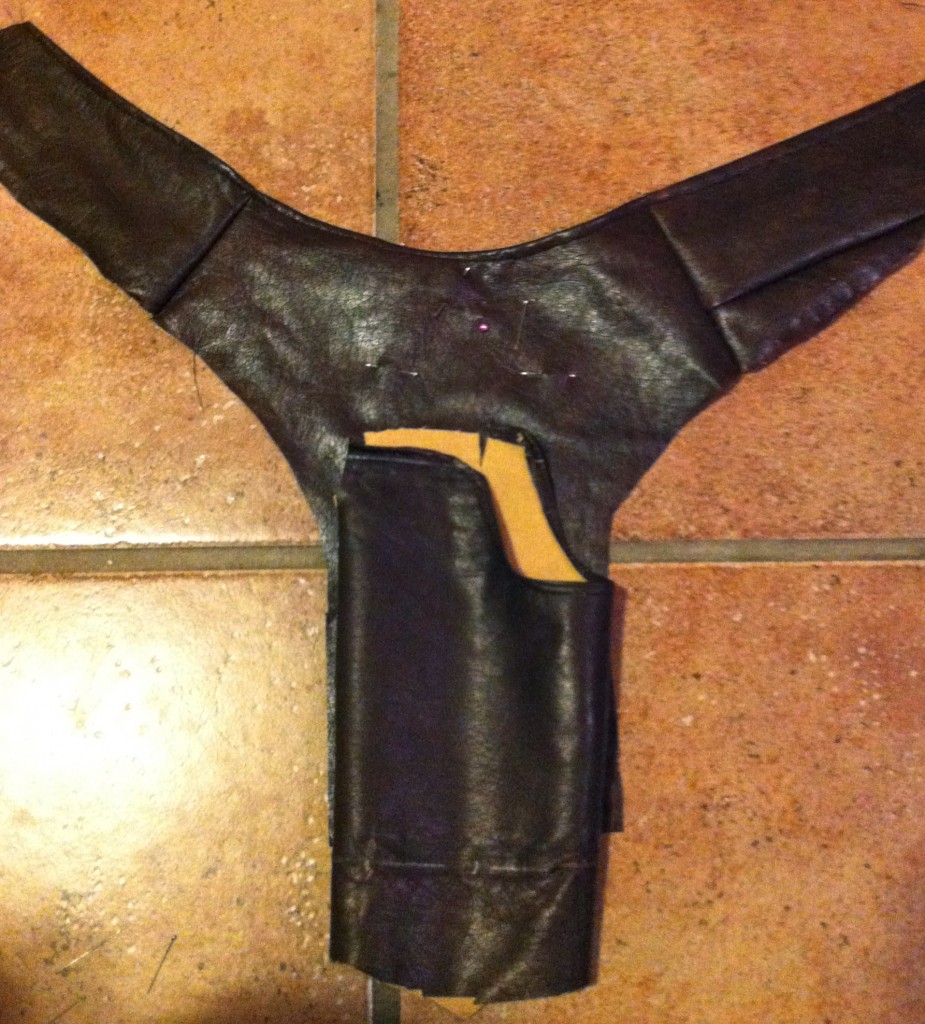
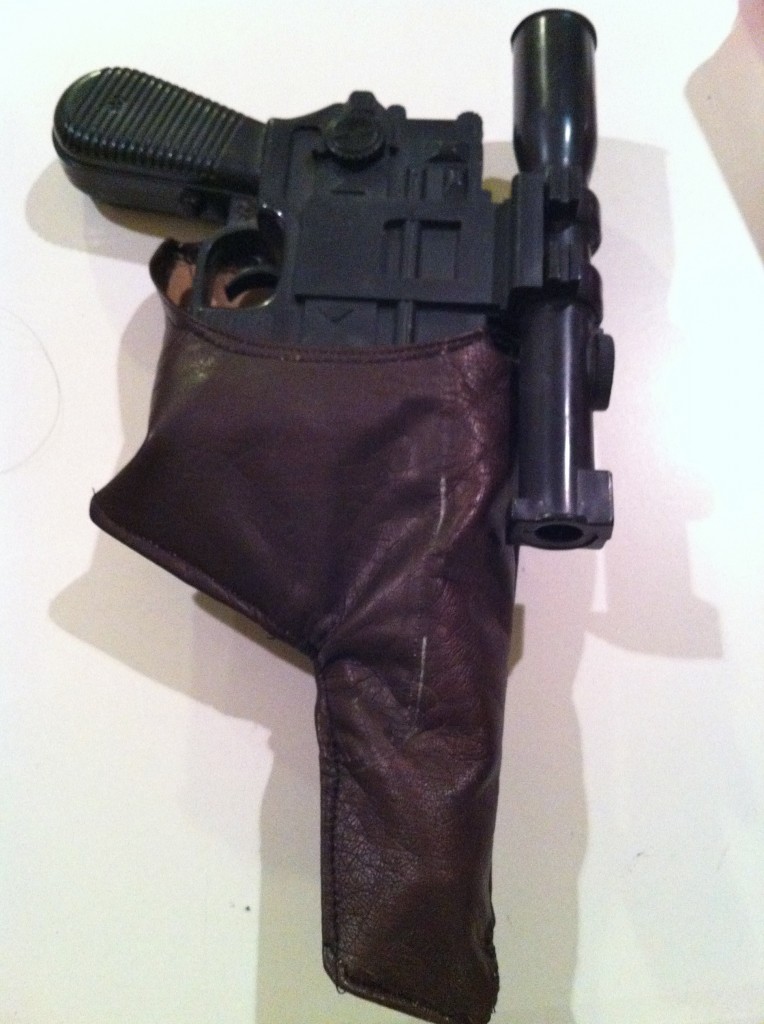
Once that was done, I just needed to trim the holster to the shape of the gun.
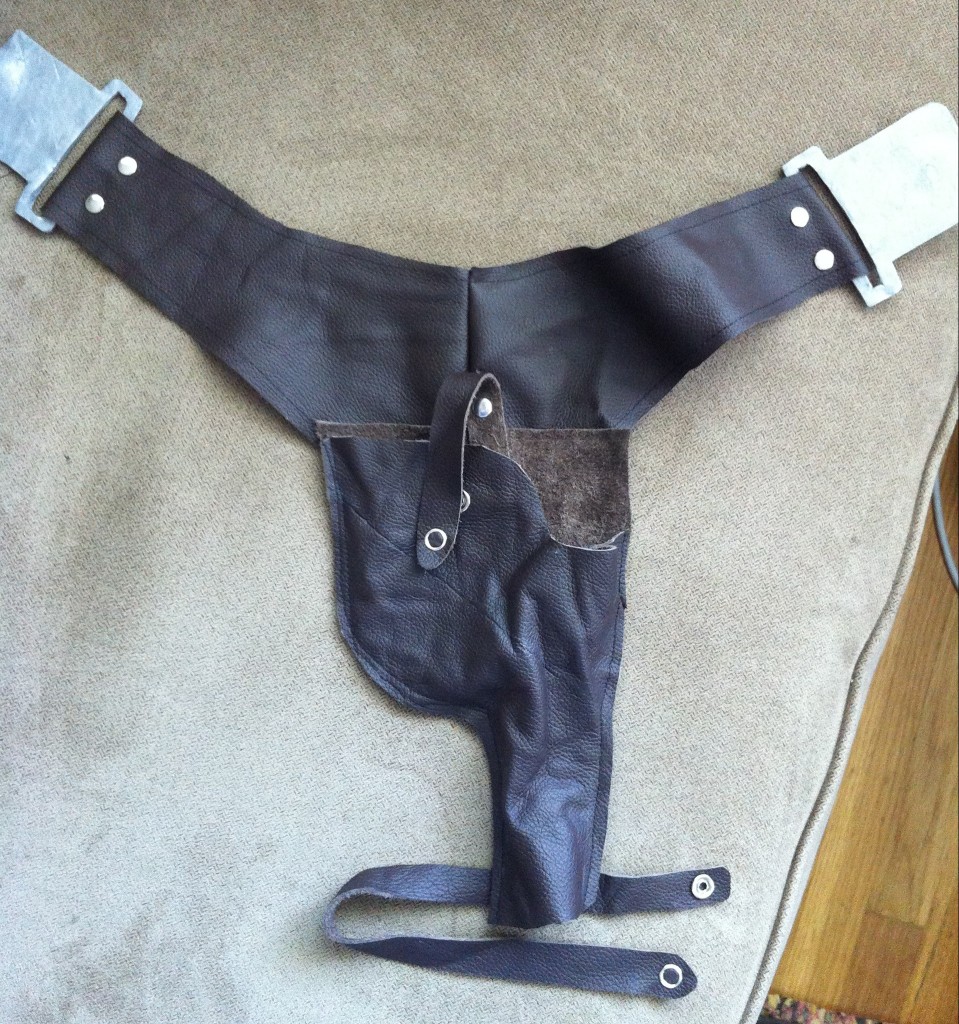
Sadly, after I had completed the pleather version, I happened upon some scraps of brown leather and decided to remake the entire thing again, this time in real leather. Using real leather was surprisingly easy since I didn’t have to finish any of the edges. After making the entire thing again, I added the straps to hold the gun in as well as to wrap around the leg and used snap buttons for those, which are great since you don’t need a special tool to insert them in.
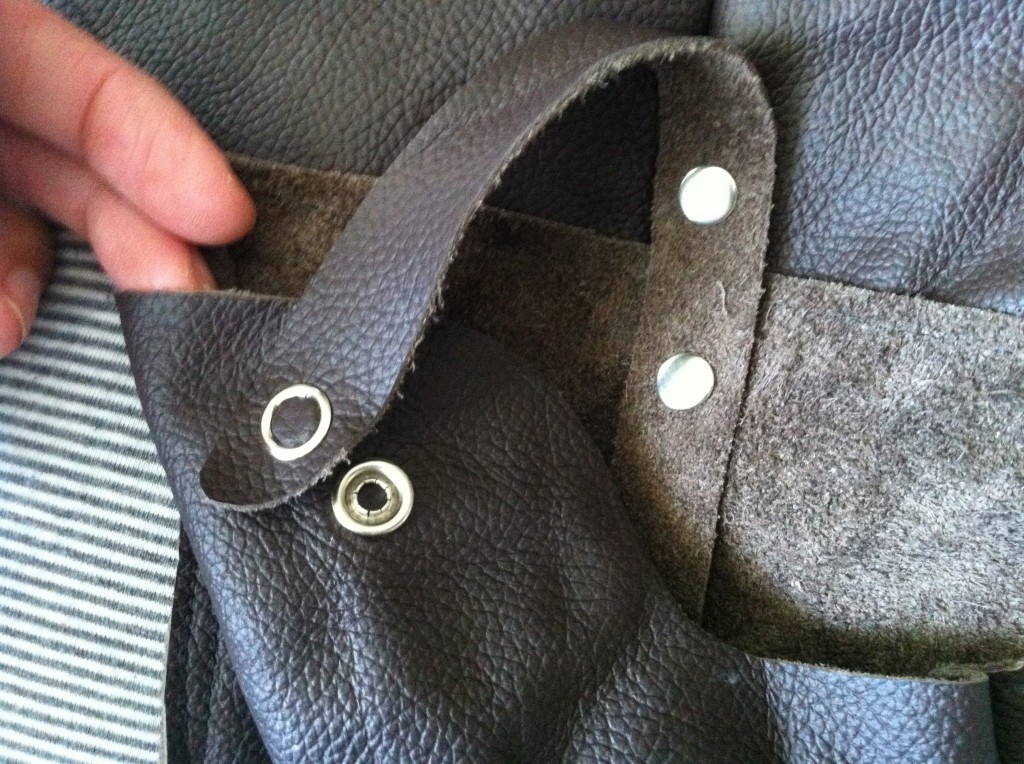
Since the leather I used was also not treated and more like purse leather, I found it a little difficult to put the gun into the holster without fumbling around. I decided to cut up one of those recycled totes and insert the plastic inside the holster, which gave it some good shape.
Stay tuned for the last tutorial on all of the hardware, hooking everything up on the belt, and installing rivets!


5 Comments
oliviashipley
Thank you for this. I am attempting to make the holster with a pleather purse I had. Hopefully it will hold up jast as well as your leather one…
-Olivia
missalissacleo
Just out of curiosity, after making your own holster, what do you think the total time/money investment is? I found this holster (http://www.jedirobeamerica.com/90,613,star_wars___replica_costumes.han_solo_costumes.Star_Wars_Han_Solo_Belt_and_Holster_Replica.html) and it actually seems like a decent deal considering the intricacy.
emilyo
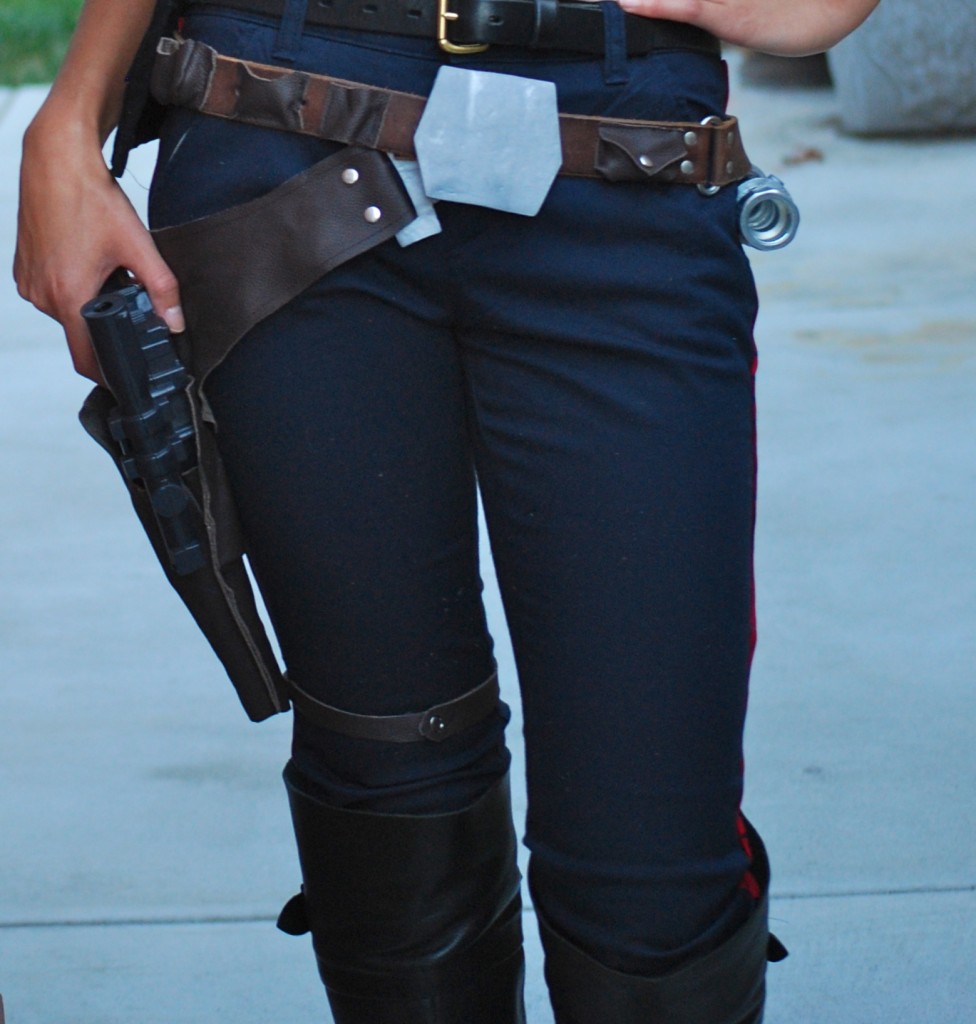
The first holster I made out of pleather was not too bad, but fell apart after one wear so I had to remake some parts. I don’t think I spent more than $20 on that so not a big deal. Since then, I’ve remade the whole thing in real leather, which I think turned out so much better and I would highly recommend it (pic for reference). $80 is a great deal, but again, that one is pleather and just looks ok imo. I don’t really love the shape of the holster and quality of the “leather”.
chrissywei
Hi Emily, just want to say that your tutorial is awesome, I’m working on the holster as we speak, and was able to find the purse to deconstruct, so it’s in the works, hope I can finish it today… Your blog was a gem…
Flor
it would be great if it had the measures!