Now that I’ve given a tutorial about making the armor and She-Ra head piece using Wonderflex, it’s time for the basics – the She-Ra dress! Back in May, I was going through my old closet in my parent’s house and found this awesome dress that I wore back in the ’90s and decided to try it on for fun. Well, although it was extremely snug, an idea for my next cosplay was born. Two months later, I was cutting all the poof and lace off the dress and shortening it about 24 inches.
This dress….
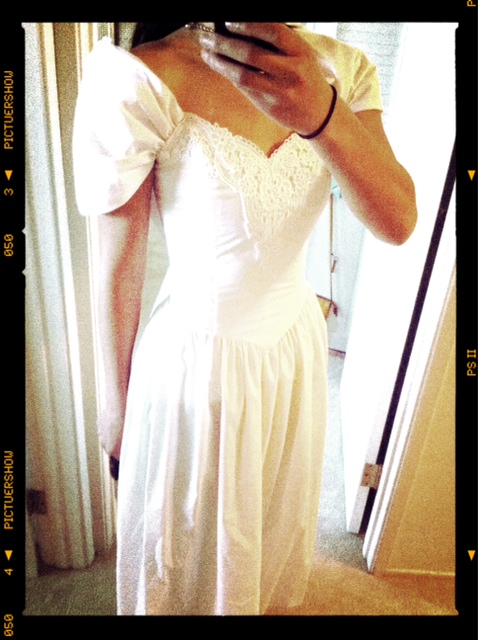
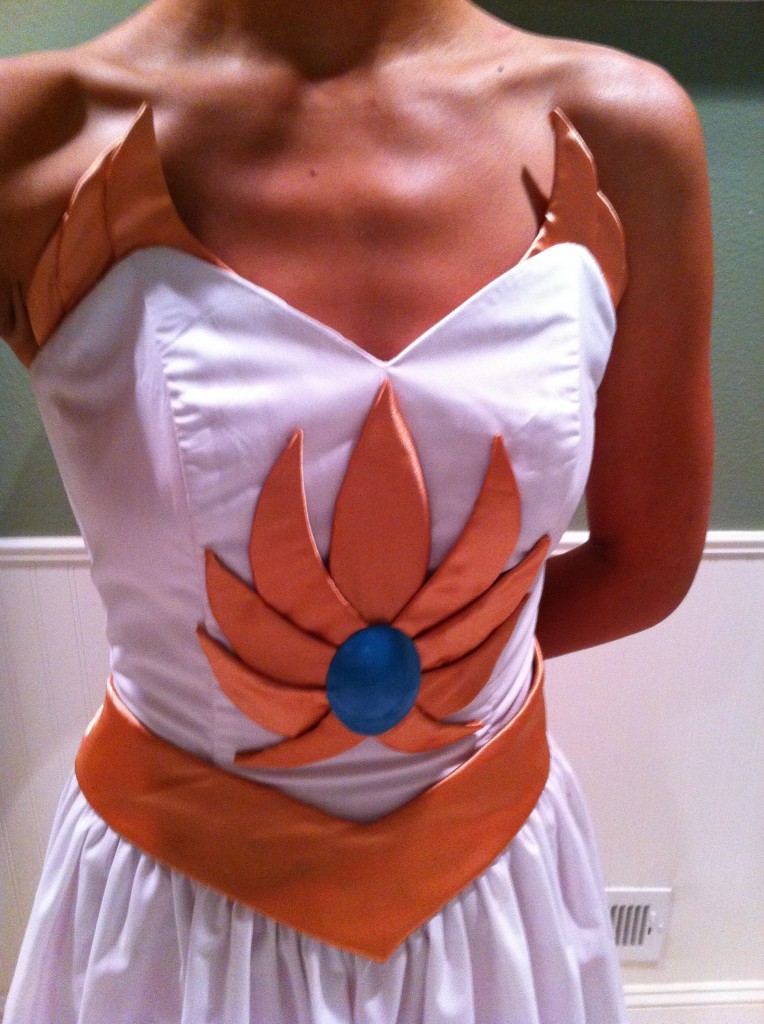
Became this!
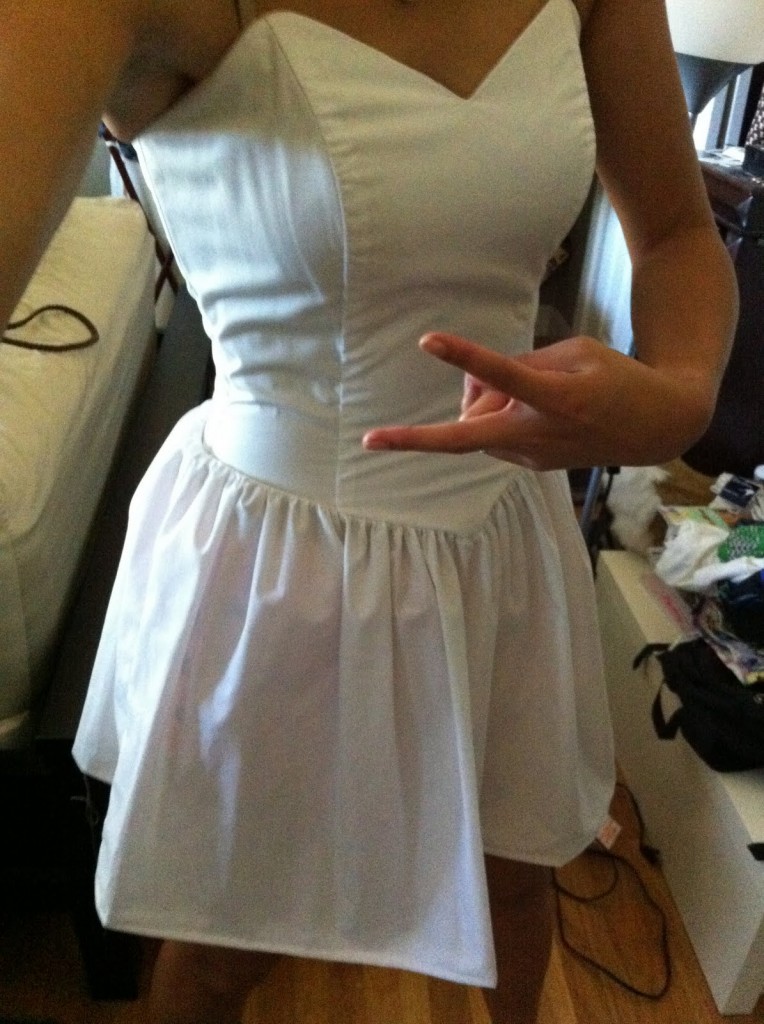
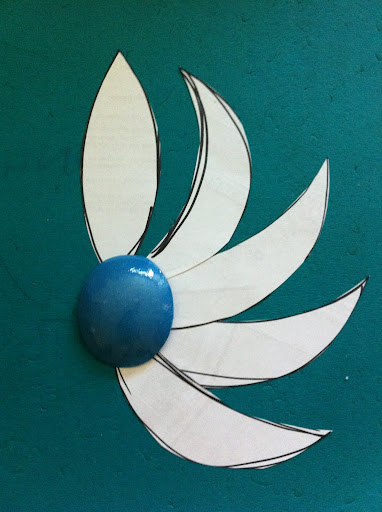
Although I originally considered using Wonderflex for the front design of the dress, I shopped around and decided that foam might work better. I was almost relieved that I wouldn’t have to be sewing so much in this cosplay compared to my Pikachu and Alice one! I bought a few pieces of plain foam (.99 each) and started planning out the “flower” design on the front – first using paper templates and then tracing them onto foam. FYI – the “jewel” in the center is actually just a round clear plastic bubble that I cut and painted with various nail polish colors to get the right hue.
Paper stencils
Foam Cutouts
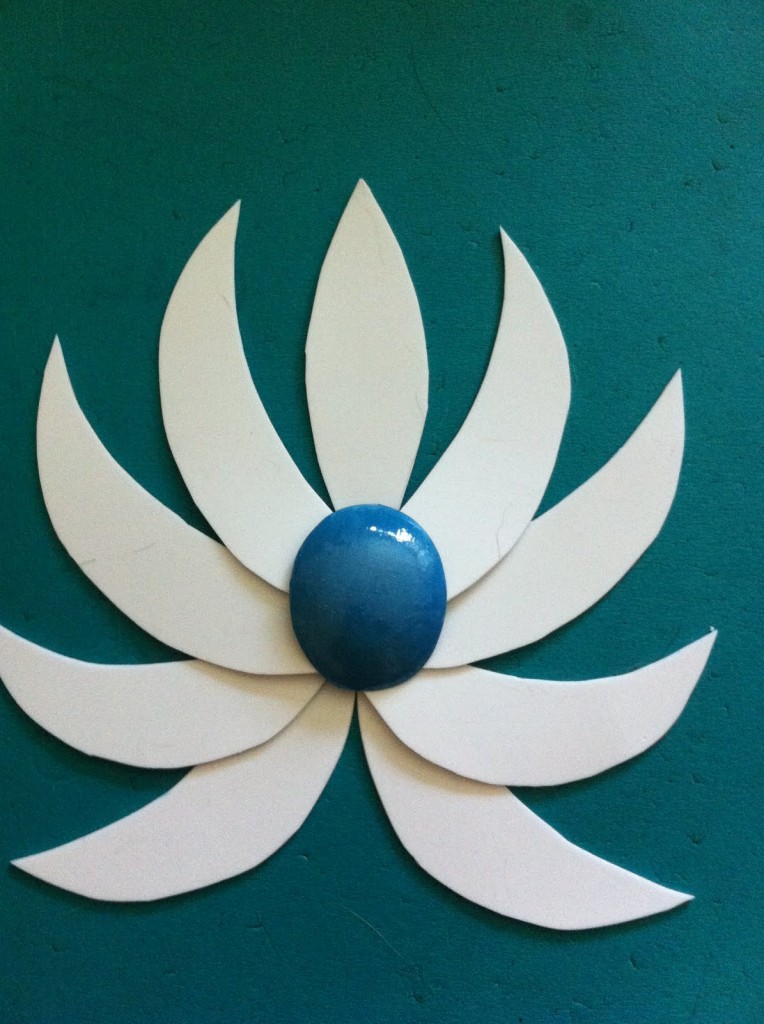
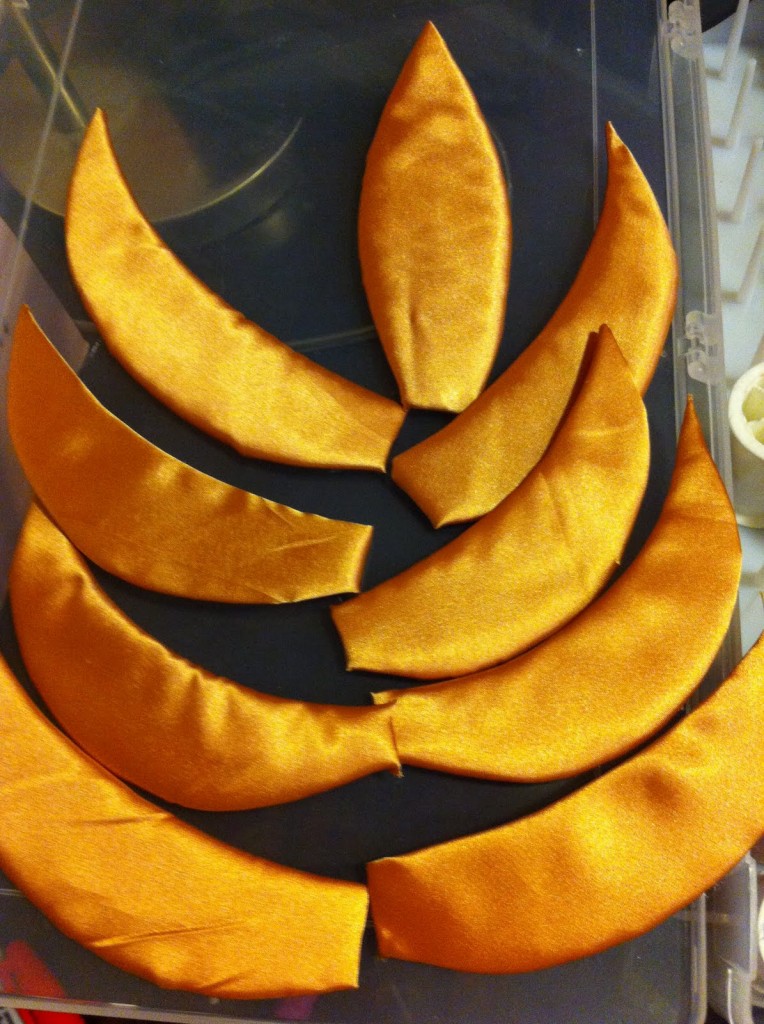
Next I laid them all out on this gold satin-y fabric from JoAnne’s, pinned them down and cut around each piece, leaving around half an inch around each one. Now was the tedious part of the construction – gluing all the fabric to the foam. This wasn’t as easy as I thought b/c of the pointy ends and I had to resize almost all of the pieces to not cover the belt (bad planning on my part).
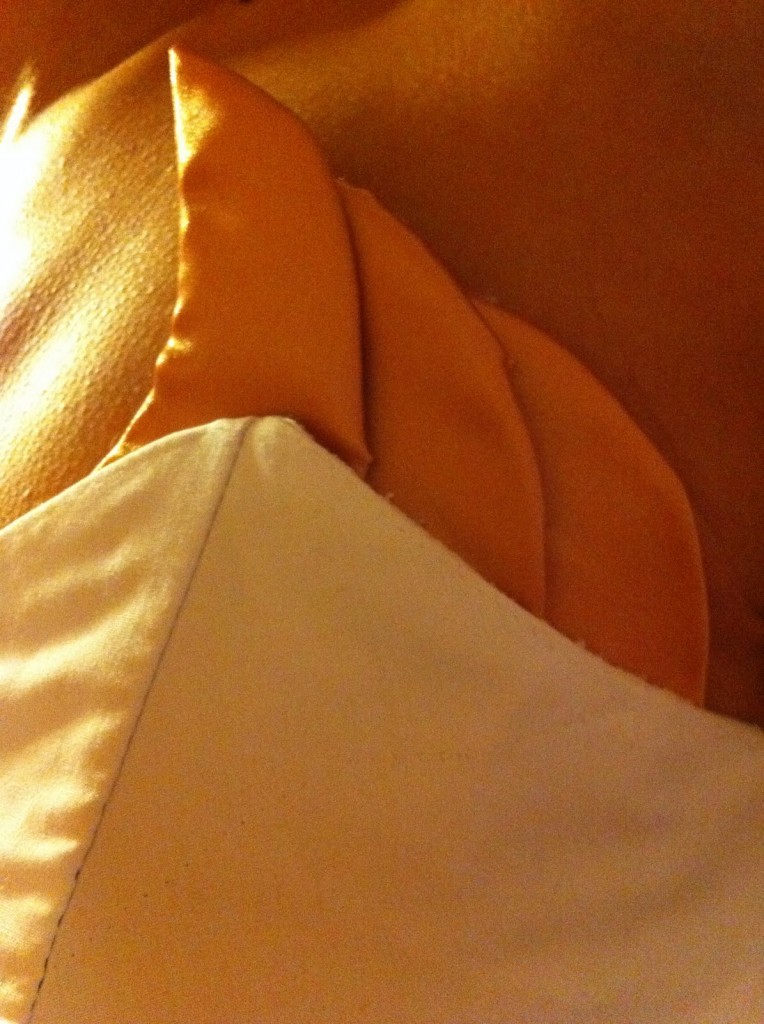
Once I was happy with the size and layout of all the “petals”, it was just a matter of glue-gunning everything together. Although glue guns aren’t exactly the most “elegant” way of constructing clothing, it definitely beat sewing. I even glue gunned the final piece directly on the dress! Kind of ghetto, I know. I did the same thing for the “wings” on the bust as well.
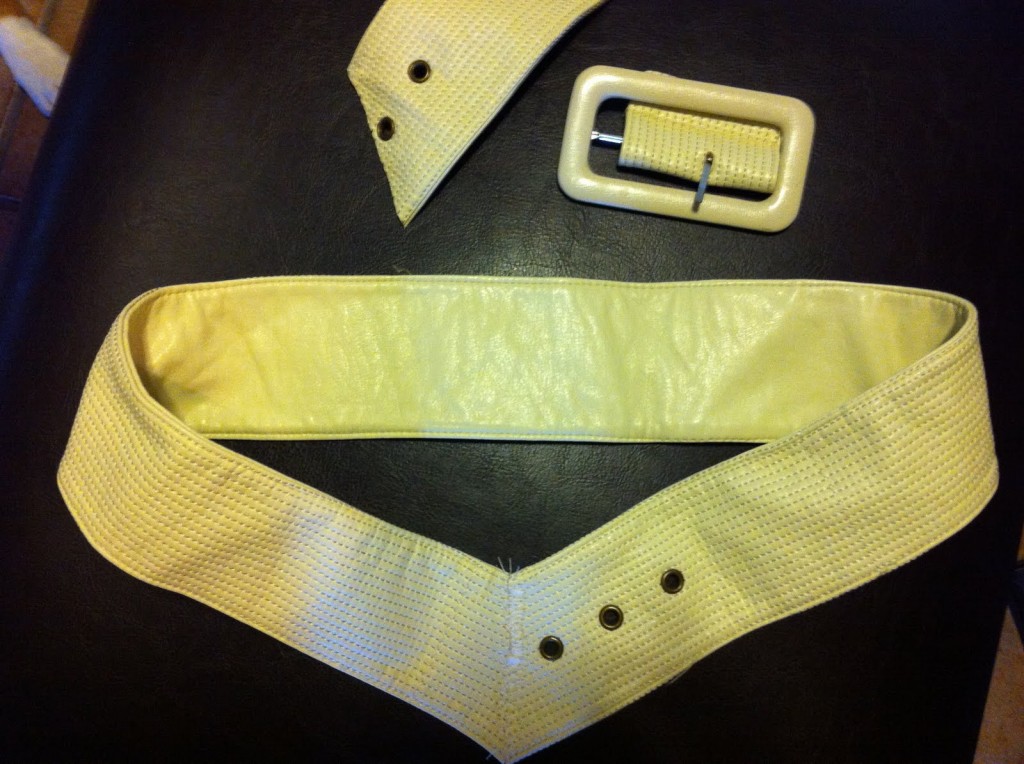
As for the belt, I found this cheapy H&M wide pleather belt and cut off the buckle and end so that it would connect to a “V” shape. I sewed the “V” ends together, and then cut it in half so that the two ends would connect in the back with a clasp. Then I covered it in fabric, just like the foam.
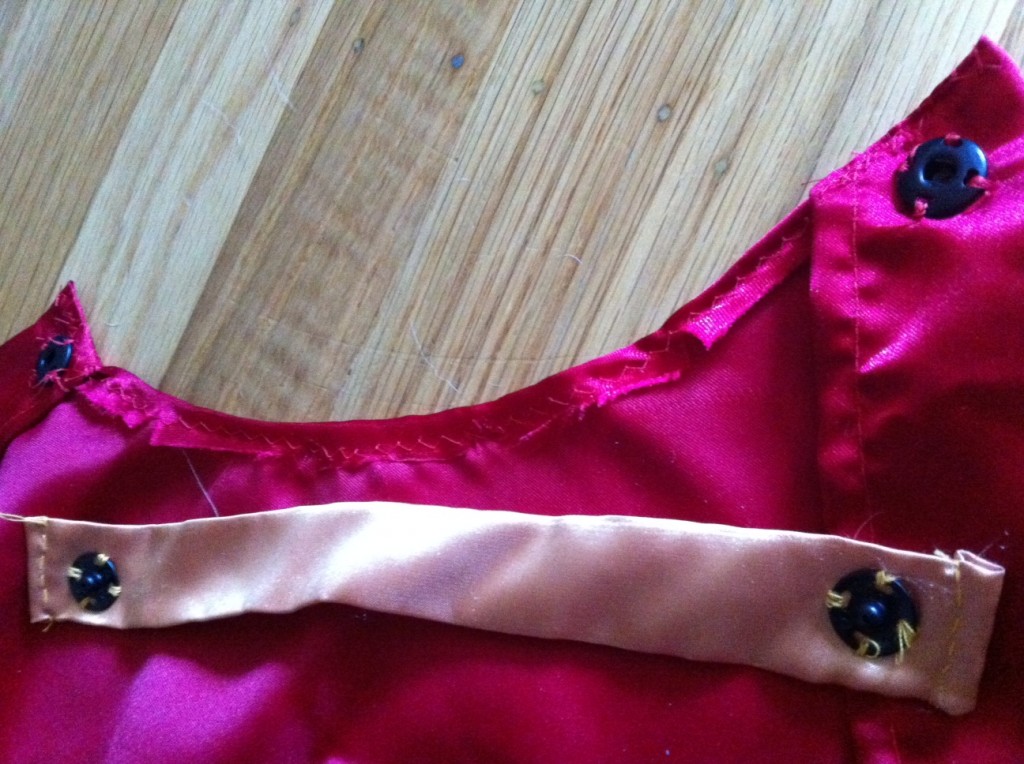
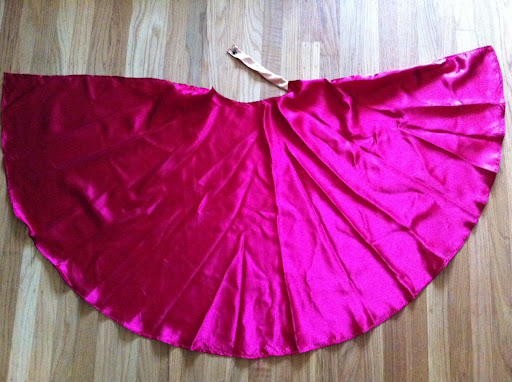
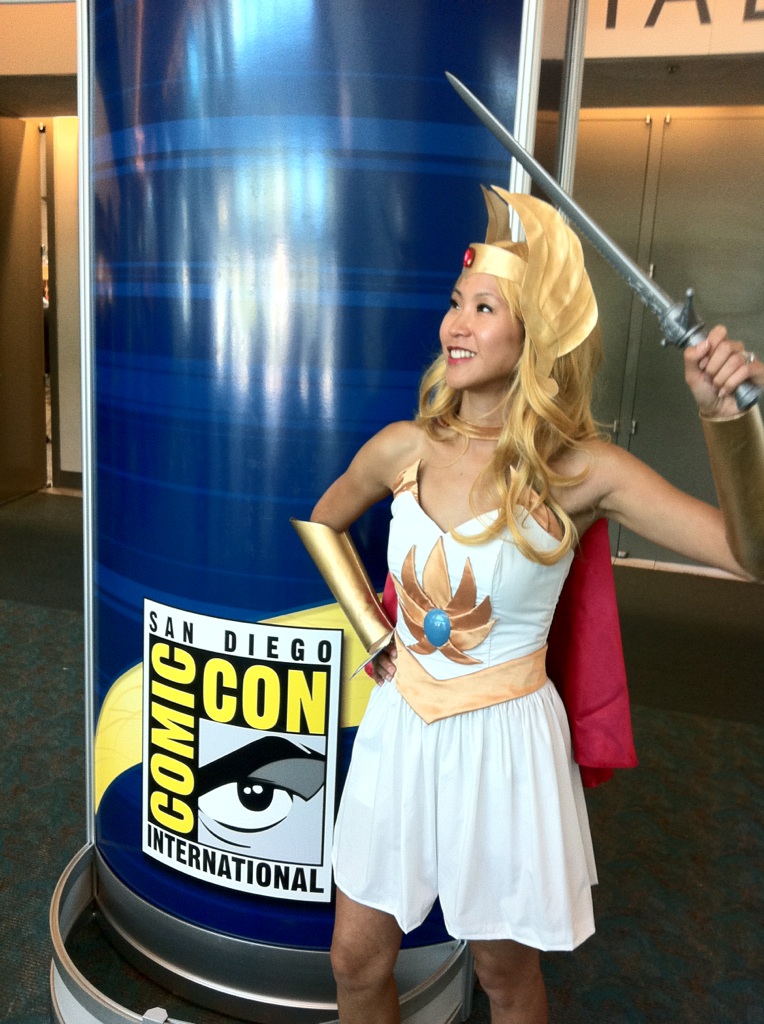
The final piece was the cape. After some horrible trial and error, I googled cape making and decided to go with the “circle cloak” idea. Some people use a full circle, but I decided to go with a half circle since I wanted the cape to only hang in the back and not cover my shoulders. Basically you just need to draw a half circle on a large piece of fabric. This is how long the cape will be. Using the same center point, draw a small circle inside the big circle (about 4-6 inch radius). This is where the cape will fit around your neck. Then it’s just a matter of finishing the edges and adding a clasp. I used snap buttons on a gold fabric collar (since She-Ra wears this gold choker thing).
And… I think that covers everything in my cosplay. Happy cosplaying!




 And… I think that covers everything in my cosplay. Happy cosplaying!


6 Comments
Shar
so my 4 yr old wants a she ra costume, and apparently they’re pretty non-existent for kids. i have been so worried about what to do because i don’t own a sewing maching and can’t really sew. but these tutorials are great! I think i can actually pull this costume off! i’m going to look for a white leotard with an attached skirt for the main costume, and work on the rest based on your tutorials. thanks for sharing!
emilyo
That’s great! Glad it helped!
Missi
THIS! IS! AWESOME!!
Brenda
i loved it!! awesome !
Steve Chapman
Thanks for this, My 5yr old daughter wants to be She-Ra so I’ll be trying out your plans since I can’t sew. If it works out I’ll try and post a pic. Thanks
Rafael da silva pupo
você tem o molde desse corpet