Han Solo Holster Tutorial – How to Wet Form Leather
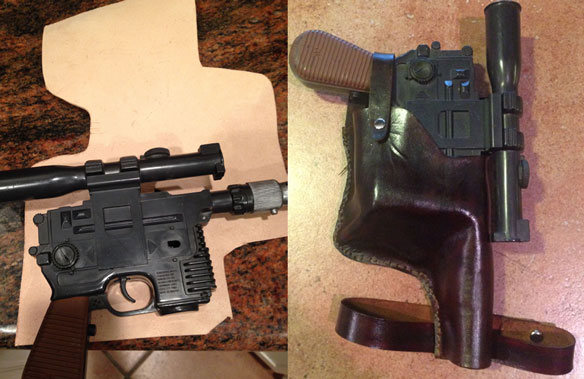 Anyone who has done leather crafting knows that it can be tedious, frustrating, or even painful. But like most things that take a lot of blood, sweat, and tears, it’s all worth it in the end when you have a beautifully crafted piece. I’ve now made two holsters from scratch and wanted to share a quick tutorial on how to wet form leather to make your own holster or leather pieces. The idea of wet forming leather is just to get the leather into the shape that you want (box shape, gun shape, etc) and hopefully these tips can help you get started!
Most cosplayers know that it’s always best to make a template first – with paper, foam, or anything except your final material. I made my holster template out of craft foam before cutting it out in leather since craft foam thickness was much closer to the thickness of my leather. Then I took that piece and traced it out in leather, making the cut slightly larger than the template so that it would be easier to sew later on. Keep in mind that the leather I’m using is a veg tan piece, meaning that it’s very plain with only a very faint color and no finish.
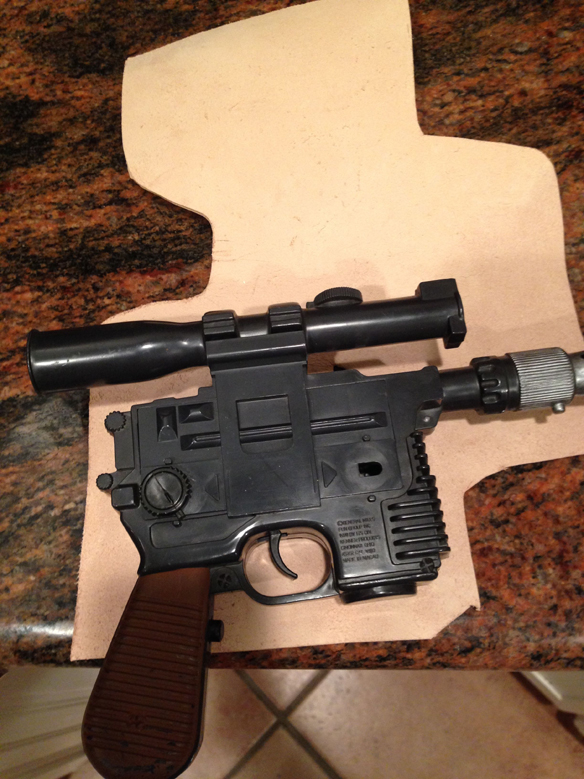 To wet form it, just soak your piece of leather in warm water for about 30 seconds (or until it feels really slimy). Take that piece of leather and wrap it around the object you are forming it around.
 Since this holster was for my Han Solo blaster, I placed the gun inside the leather piece, pressed everything down and then nailed it to a board. I put some paper towels behind it to protect the leather from the wood.
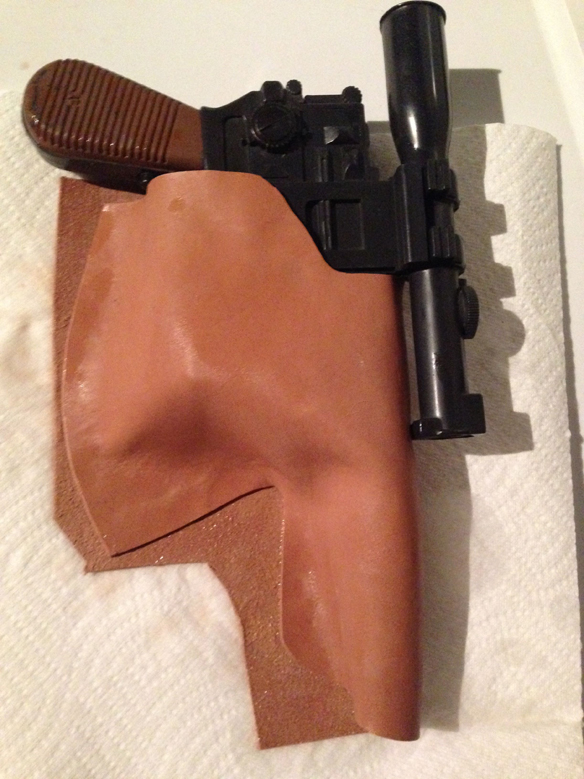

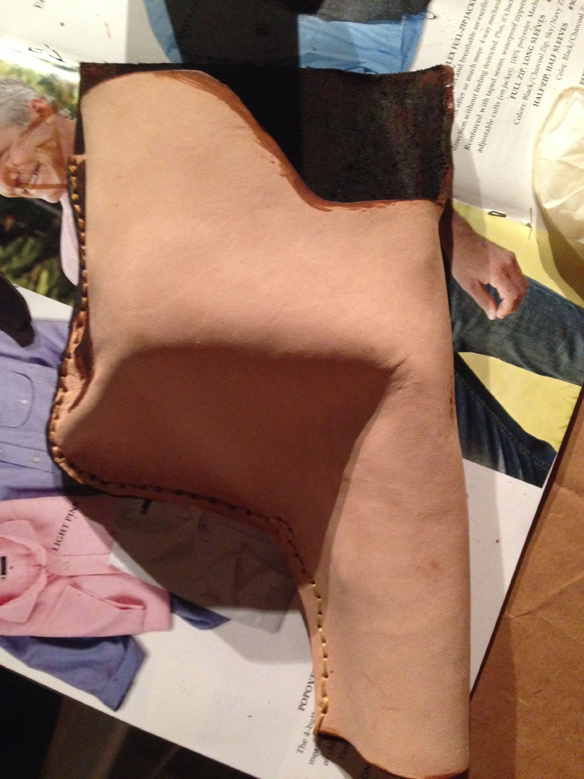
At this point, it usually takes around 2 days for everything to dry. Once it does, you can start stitching the piece together (here I used a backstitch). Make sure you use the appropriate materials to sew – needle, waxed threads, etc. Also, if you’re attaching any rivets or straps to this piece, you may want to attach them first before sewing the holster together. Once everything is stitched together and secure, you can trim the edges with some leather scissors.
Now for the fun part – dying all the leather! Use your wool daubers with your leather dye and rub in a circular motion to prevent streaks. Here I’m using Fiebings Dye in Dark Brown. Dye until you have an even coat in your desired color and wait about 15 minutes for everything to dry. At that point, you can apply a finisher. Here, I’m using a glossy Fiebings one, but any leather finisher should be fine. You really only need 1-2 coats of finisher and it dries fairly fast (10-15 min between coats).
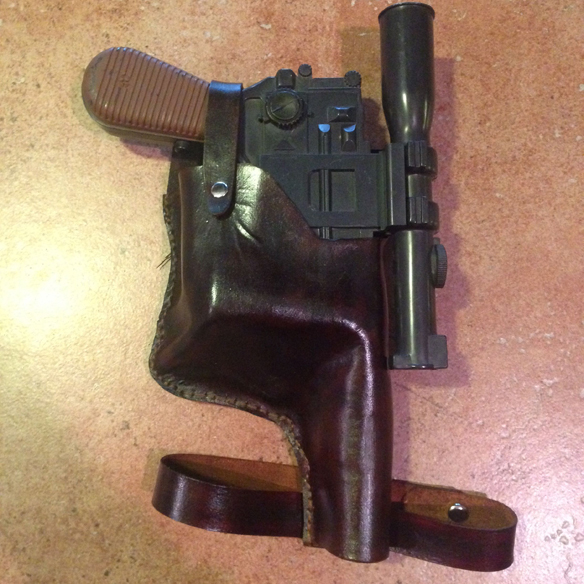
Below is the finished Han Solo holster (before strap attachments) as well as a bunch of wet formed pockets that I would later attach to my belt.
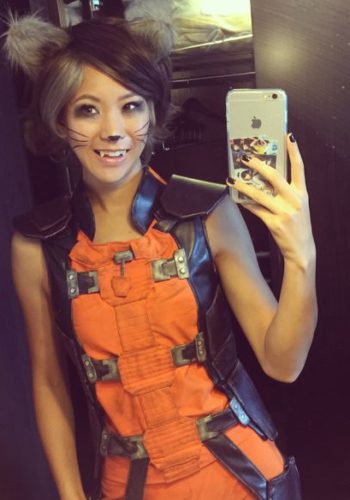
 And the final product! Happy leather crafting!



One Comment
Joie Fatale
This is awesome! Thank you for the tutorial!